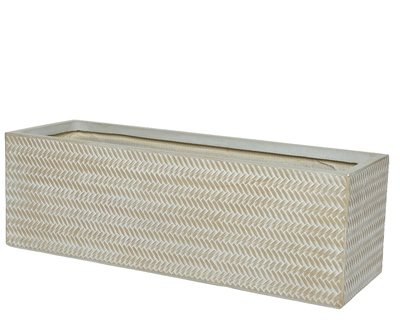
Indoor Plants
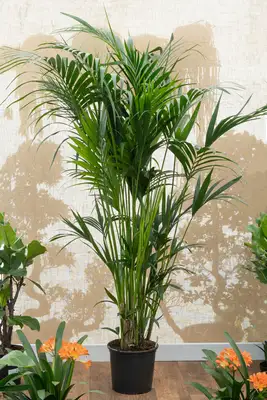
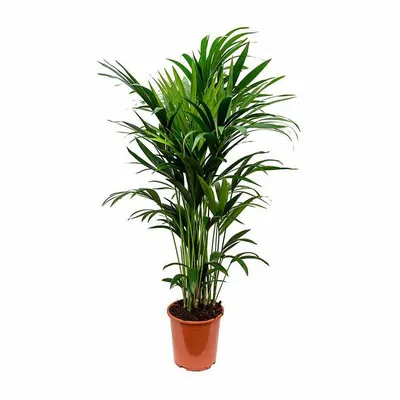
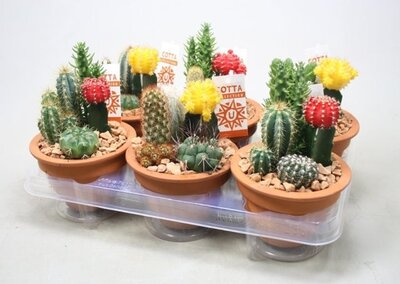
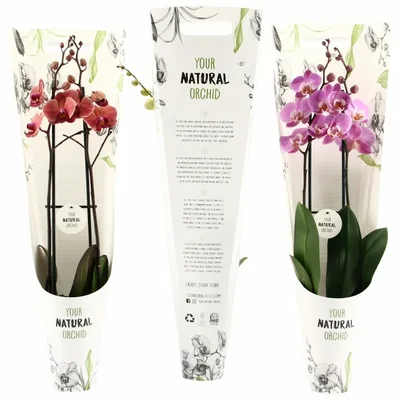
Beautiful indoor plants give your interior a green vibe and add a little nature to your home. Jones Garden Centre offers wonderful indoor plants that turn your home into an Urban Jungle. We stock a large range of big indoor plants with huge leaves, flowering indoor plants and cacti and succulents. Order plant online or visit our centre in Dublin.
Why buy indoor plants?
Indoor plants don’t just look good—they can make us feel good, too. Studies have shown that indoor plants:
- Help clean indoor air by absorbing toxins, increasing humidity & producing oxygen
- Are therapeutic to care for (it’s true when we say Plants Make People Happy)
- Boost your mood, productivity, concentration and creativity
- Reduce your stress, fatigue, sore throats and colds
At Jones Garden Center we have specialists who can help you pick out the Indoor plants that fit your wishes and home. Do you already know which plants will complete your Urban jungle? Have a look in our webshop and order your next Indoor plant(s) easily and safely online!
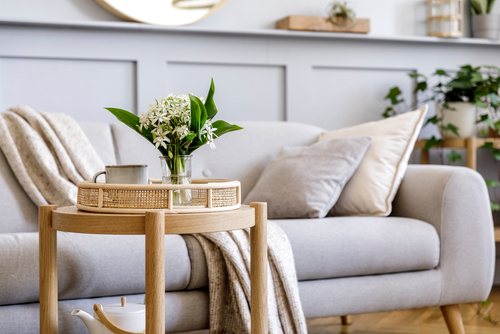
How to take care of your Indoor plants
Most of the indoor plants at Jones Garden center don’t need constant attention to stay healthy and beautiful. Other than remembering to water, we have plenty of easy-care houseplants that will only need a little maintenance a few times each year. When you need to step in and do some pruning or snip away a few leaves that are starting to turn yellow, at Jones Garden Center we have everything you need to take care of your indoor plants.
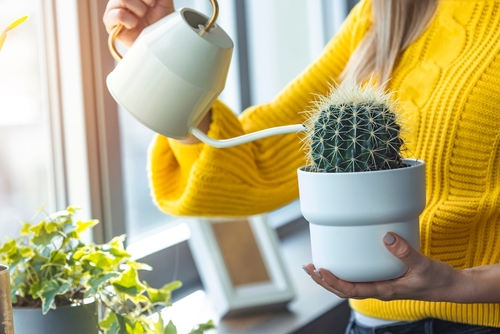
A few tips from our experts to keep your Indoor plants looking lush and healthy:
1. Watering your indoor plants
Overwatering is one of the most common causes of houseplant death. If you're not sure how much to water, it's better to err on the dry side than to give your plants too much moisture. In general, plants grown in well-drained soil in an appropriate-size container should only be watered when the top 0.5 to 1 inch of soil feels dry. Cacti and succulents need less water. Flowering plants usually need slightly more.
2. Fertilizing your plants
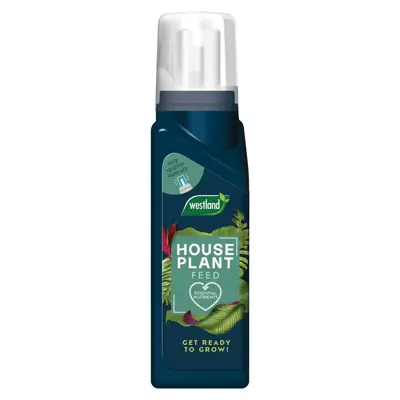
During the short days of fall and winter, most houseplants don't need much, if any, fertilizer. Most houseplants put on a growth spurt in spring and summer, so this is the best time to fertilize them. Follow label directions to know how much plant food to use.
3. Remove dust from your plants
It might sound silly but it might do your plants the world of good if you regularly dust them off. For plants with smooth leaves, you can just use a cloth to gently wipe away any dust that collects on leaves. Not only does this improve your plant's appearance, but it'll actually help it to soak up more light.
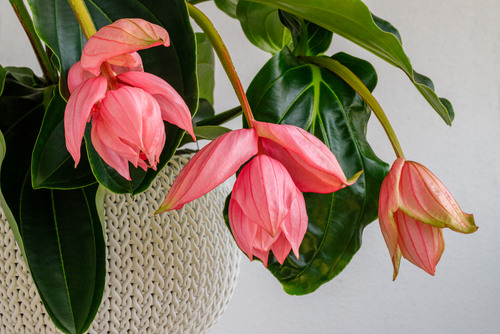
4. Prune your plants
The main reasons for pruning indoor plants are to make them look better and keep them from getting too large. Cutting overgrown indoor plants back to 4 to 6 inches tall with pruning scissors helps rejuvenate them.
5. Remove dying leaves from your plants
Trim faded flowers from your plants to encourage more blooms and help prevent disease problems. While you're at it, be sure to remove yellow, brown, or withered leaves. It's a good idea to wipe off the blades of your pruners with rubbing alcohol before moving on to a different plant to avoid spreading any pests and diseases.
Such a fan of your own indoor plants that you want to share them? Learn how to propagate!
Propagating indoor plants is a rewarding way to expand your plant collection or share plants with friends and family. Here's a step-by-step guide on how to propagate indoor plants and the tools you may need. There are several common methods of propagating indoor plants, but we will explain the most common one to you: stem cuttings.
Stem Cuttings: This involves taking a section of a stem with leaves and rooting it in water or soil.
1. Gather the Tools: The tools you may need for propagating indoor plants include:
- Clean, sharp pruning shears or scissors: Used for taking cuttings and dividing plants.
- Small pots or containers: To plant the propagated cuttings or divisions.
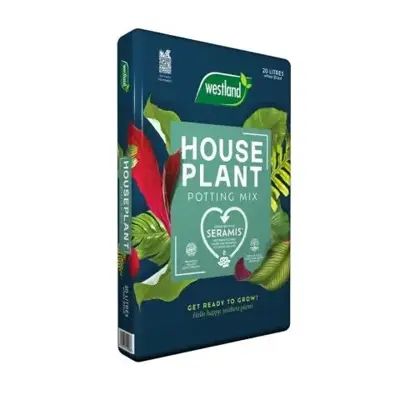
- Potting mix: Choose a well-draining, suitable potting mix for the specific plant you're propagating.
- Watering can or misting bottle: Used to provide moisture to the newly propagated plants.
- Transparent plastic bags or plastic wrap: These can create a humid environment to promote root development for certain propagation methods.
- Labels or markers: Use them to identify the plants and the date of propagation.
2. Prepare the Propagation Environment: Stem and leaf cuttings often root best in a glass of water or in a well-draining potting mix kept consistently moist.
3. Take Cuttings or Divisions: Carefully take cuttings or divisions from the parent plant, ensuring you include a sufficient number of leaves or stems. Remove any excess leaves or flowers from the lower portion of the cutting to prevent rotting in the propagation medium.
4. Plant or Place the Propagated Material: Plant the cutting directly into a small pot filled with moist potting mix or place it in water, ensuring that the leaves are not submerged. If air layering, secure the rooting medium around the wounded area and cover with plastic wrap.
5. Provide Proper Care: Place the propagated plants in a suitable location with appropriate light conditions. Follow the specific care requirements of the plant being propagated, such as providing adequate moisture, temperature, and humidity levels. Mist the leaves or cover with a plastic bag to maintain humidity if necessary.
6. Monitor and Wait: Keep an eye on the propagated plants, ensuring the propagation medium remains moist and the environment is suitable. Roots should begin to develop over time, and new growth should emerge. Be patient, as propagation can take several weeks to months, depending on the plant species and method.
7. Transplant or Share: Once the propagated plants have established roots and are showing healthy growth, they can be transplanted into larger pots or shared with others to enjoy.

